Proxmox VE
Proxmox Virtual Environment


Proxmox Virtual Environment is a powerful open-source virtualization platform that allows you to run multiple operating systems (virtual machines) on a single physical server. It's like having multiple computers in one! This can be useful for a variety of purposes, such as:
- Consolidating servers: If you have multiple servers with low utilization, you can consolidate them onto a single Proxmox server to save space and energy.
- Running different operating systems: You can run Windows, Linux, macOS, and other operating systems on the same server with Proxmox.
- Hosting web applications: You can use Proxmox to host your own web applications or websites in Linux containers
- Testing and development: You can use Proxmox to create isolated environments for testing new software or developing applications.
What are the benefits of using Proxmox?
There are many advantages to using Proxmox, including but not limited:
- Free and open-source: It is free to use and open-source, which means that you can download it and use it without paying any licensing fees if required there is a subscription for Enterprise Support.
- Powerful and versatile: It is a powerful virtualization platform that can handle a wide variety of workloads.
- Easy to use: It is relatively easy to use, even for beginners. There are many resources available online to help you get started.
- Scalable: It can be scaled to meet your needs. You can start with a small server add more resources as needed and utilize features such as High-availability cluster (HA).
- Enterprise backup solution: Additionally, it supports and offers a fully functional backup system integrated with Proxmox Backup Server in several ways including incremental backup and full backup.
Installation
Installation and getting started are already available and well-documented thanks to the Proxmox team, so skip ahead and jump ahead on demonstrating some features and tools that can make using Proxmox more fun and productive with templates for VMs.
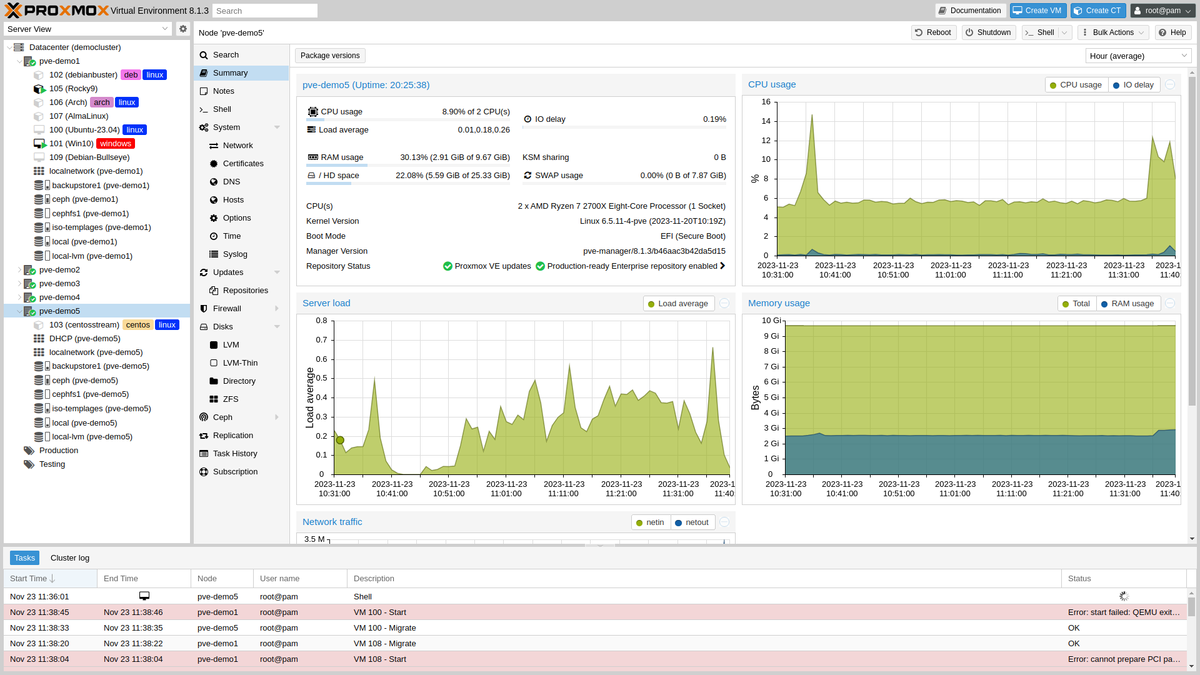
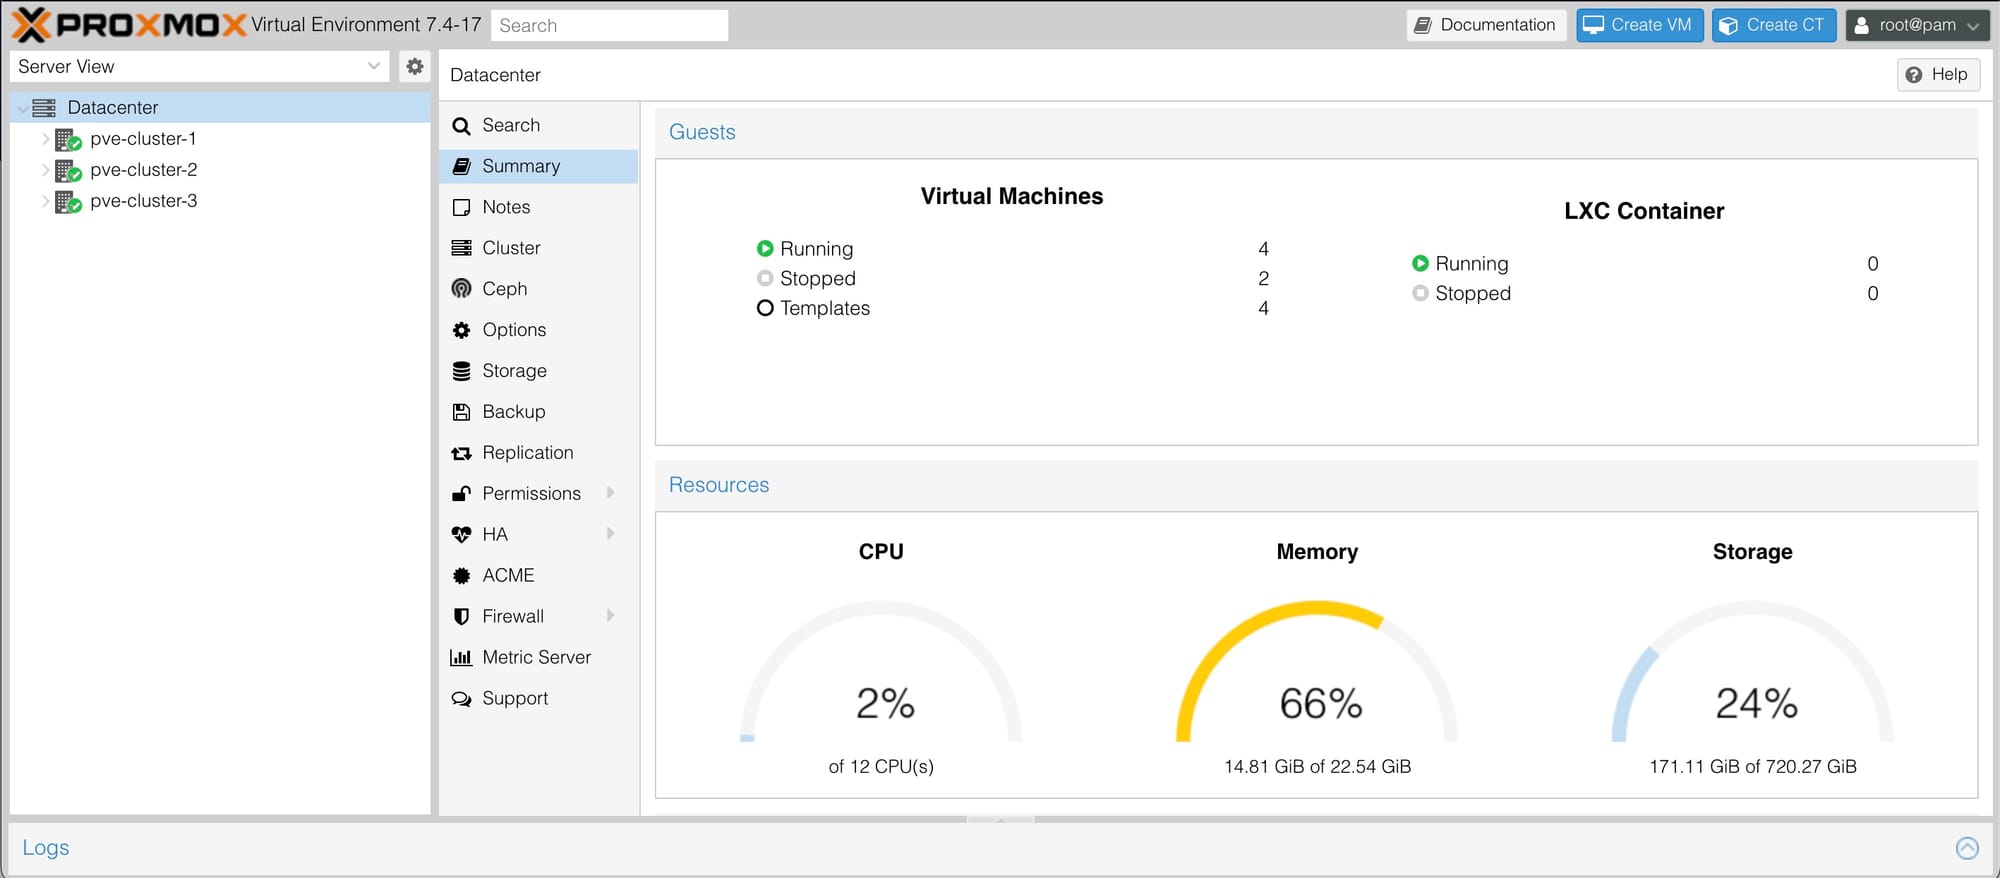
Web-based management interface
Here is an illustration of a Proxmox web-based management interface. It features a server status report in addition to a neat, well-organized layout of settings.
Building Debian 12 Cloud-init image
Below are the steps to create an image for a general-purpose virtual machine ready-to-boot with Linux Debian 12 using the cloud-init method.
First, we have to log in to the Proxmox server using SSH so we can use CLI commands directly as follows:
- Change the directory to a temp folder for downloading the image.
cd /tmp/
- Using the Wget tool to download the image file to our server
wget https://cloud.debian.org/images/cloud/bookworm/latest/debian-12-nocloud-amd64.qcow2
- Create a new VM named "Debian-12-Cloud-init" with ID 1000
qm create 1000 --name Debian-12-Cloud-init --memory 2048 --net0 virtio,bridge=vmbr0
- Import the downloaded image disk to the VM local-lvm storage
qm importdisk 1000 debian-12-nocloud-amd64.qcow2 local-lvm
- Now attach the new disk to the VM as scsi drive index at 0
qm set 1000 --scsihw virtio-scsi-pci --scsi0 local-lvm:vm-1000-disk-0
- Make the cloud init drive bootable and restrict BIOS to boot from disk only
qm set 1000 --ide2 local-lvm:cloudinit
- Set boot device disk to scsi0
qm set 1000 --boot c --bootdisk scsi0
- Enable serial device to enable console access
qm set 1000 --serial0 socket --vga serial0
- Convert the VM to tamplate so we can clone and use
qm template 1000
- Lastly, create VM from the template
Using Web management interface with Clone Mode: Full Clone
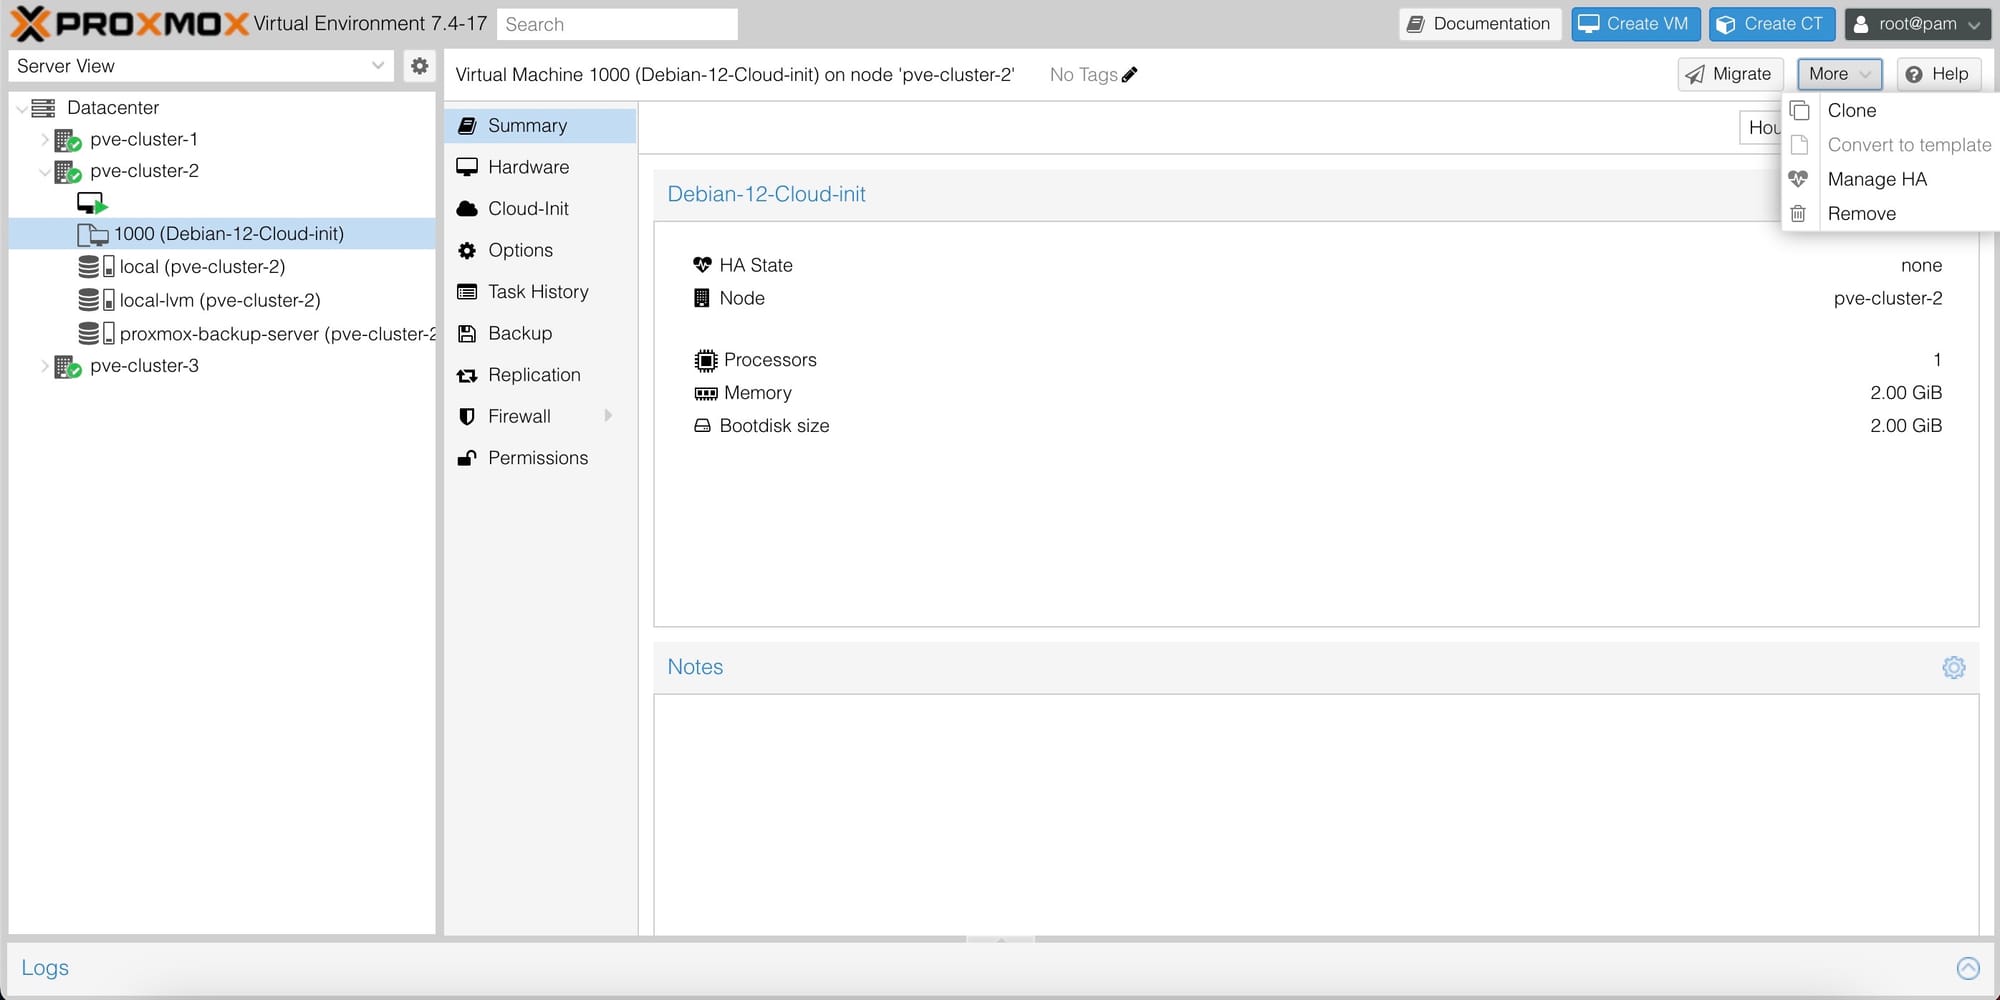
Voilà, now you have a ready image built on Debian 12.
Note: After cloning the template to create a VM, do not forget to resize the hard disk (scsi0) to the desired and needed size and update the required settings, such as CPU and RAM capacity, for the VM. We can also leverage cloud-init settings to add our SSH keys and apply network settings.


